


Customizing a Gift with Your Own Photos: Step-by-Step Guide
Customizing a gift item with your photos is a simple process that can be done from either a computer or a mobile device. Follow these steps to create memorable custom gifts:
Guided procedure:
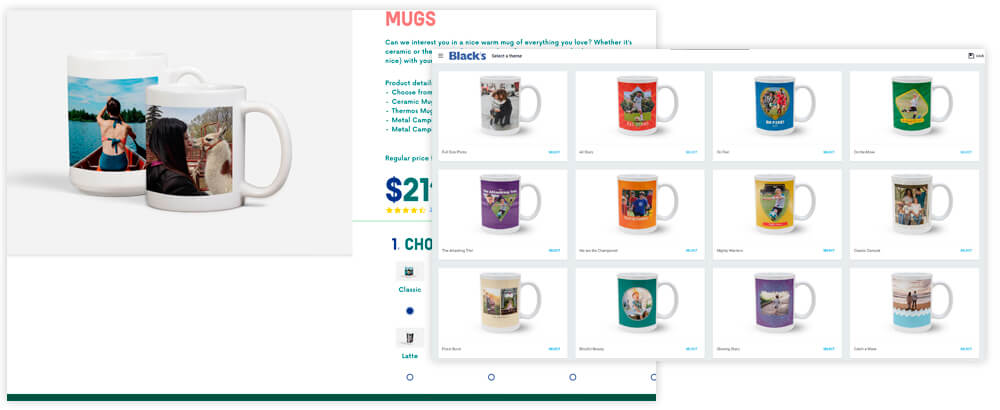
1. Choose a gift item from our wide selection
Select your favourite item from our gift collection. Depending on the item, you may need to choose the colour of a mug or t-shirt, or the size of a blanket. Then, pick a template and click or press "Select" to start crafting your special custom gift.
2. Upload your photos to our online image editing tool
Before you begin, here are a few tips:
- Group your pictures in a folder.
- To select multiple pictures, hold the CTRL key (PC) or CMD key (Mac).
- To select all pictures in a folder, hold the CTRL+A key (PC) or CMD+A key (Mac).
Next, transfer your image files to our server using our online Digital Studio. You can upload files from your computer or mobile device, social network accounts, or previous projects stored on our servers. This free digital studio experience is available online, allowing you to access it conveniently anywhere.

3. Add a photo to your gift item
To apply an image to your gift item, select the designated image zone in the layout. Then, click the "Photo" button on the left side of your window. Choose the photo you want to add and make any desired edits to the picture, such as adjustments or adding text. You can also modify the layout to suit your preferences.
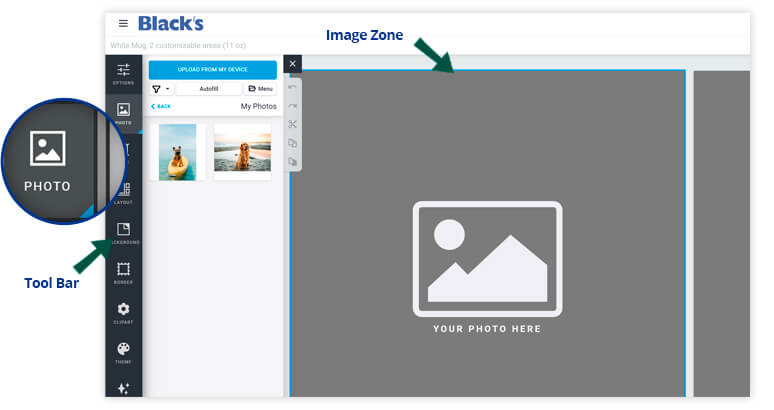
Image options – How to add and edit pictures
You have various options to customize your gift's layout:

 Pan/Zoom: Select, move, and resize a picture.
![]() Transform: Adjust the position, rotation, and cropping of a picture.
Transform: Adjust the position, rotation, and cropping of a picture.
 Rotate: Rotate a picture.

 Front/Back: Bring a picture forward or push it backward.
 Empty: Delete a selected picture.
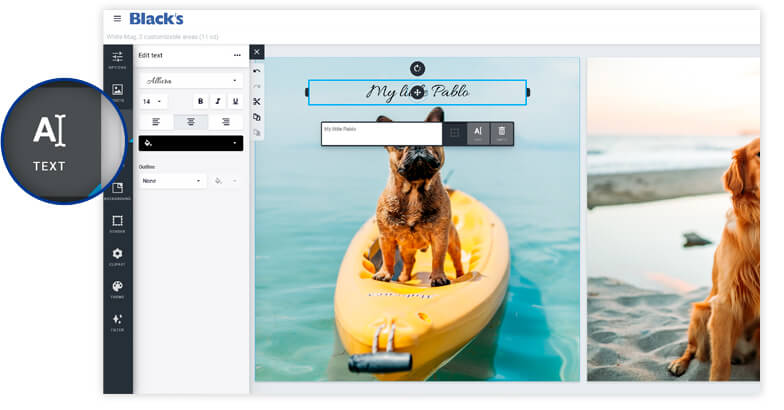
Text options – How to add a caption to your item
To add text, select the text box and input a caption, description, or comments. You can modify the font style by clicking the "Text" button on the left side of your window, which will display different options.
Other options -- Customize your gift’s layout
The layout you picked isn’t set in stone. You can change it by using the options in the toolbar sitting on the left side of your window.
 Filter: Add a black, white, or sepia filter to a picture.
 Border: Frame a picture.
 Layout: Edit the presentation.
 Theme: Switch layouts.
 ClipArt: Insert a ClipArt file.
 Background: Modify the back of the presentation, such as colour or image.
![]() Undo: Cancel the last action.
Undo: Cancel the last action.
 Redo: Reinstate the last cancelled action.
 Cut: Delete a selected image or element.
 Copy: Make a copy of a selected image or element.
 Paste: Paste a selected image or element that you have copied or cut out.
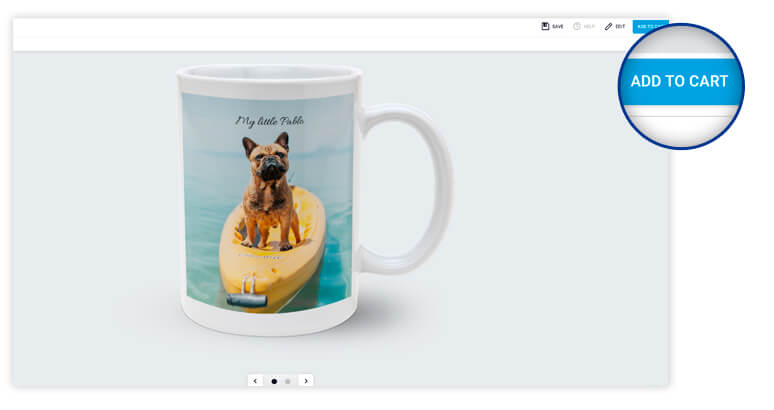
4. Order the printing of your custom gift online
Before placing your order, preview your creation by clicking the "Preview" button. Review all the details to ensure everything is correct. If needed, you can go back to the customization step to make any necessary changes. Once you're satisfied, click "Add to cart" to order your customized item.
Frequently Asked Questions:
• How to create a photo mug at home?
Sign in to your account, choose a mug style, and upload a high-resolution image. The format can be 8x10 inches.
• How to print a picture on a T-shirt?
Sign in to your account, select a t-shirt style (plain or with a pocket), and upload a high-resolution photo. You can also make touch-ups if desired.
How to make a photo keychain?
Sign in to your account, select a keychain style, and upload a high-resolution photo. Touch-ups can be made if necessary.
Where to create a puzzle from your picture?
Use our online digital studio, which is available for free. Sign in to your account or create a new one, select a puzzle size, upload a high-resolution photo, make any required cropping adjustments, and order your jigsaw puzzle online.