


How To Create And Print A Custom Photobook Online
Creating your own custom photobook is easy and can be done effortlessly from your computer or mobile device. Choose a photobook or album template and its desired attributes. Upload your photos to our free online Image Editing tool and start designing your 'scrapbook'. You have the option to add your images one by one or have the book auto-filled with a selection of your pictures. Unleash your creativity by customizing the layout with ClipArts, captions, frames, and more. Before placing your order, use our Preview mode to review your work. You can have the book delivered directly to your doorstep anywhere in Canada.
Guided procedure:
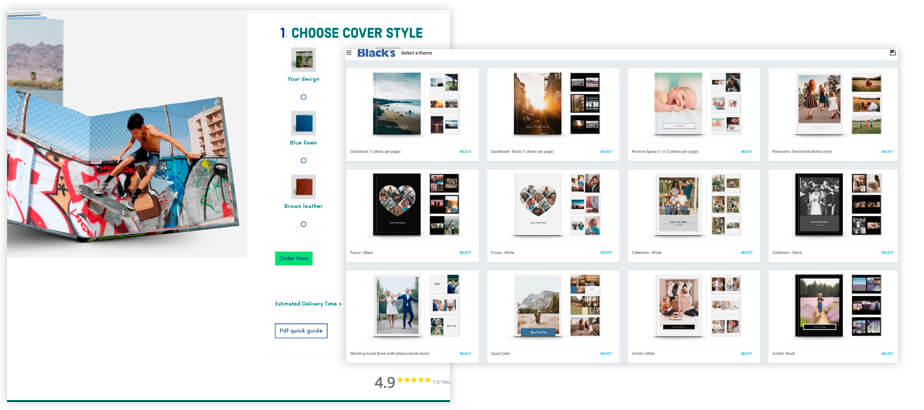
1. Select a photobook template
Choose the type of book you want, such as layflat, hardcover, or softcover. Select the desired attributes, like the cover colour, and choose a layout based on the number of pictures it can hold. Browse through the different templates to make your decision, and then click or press Select to start customizing.
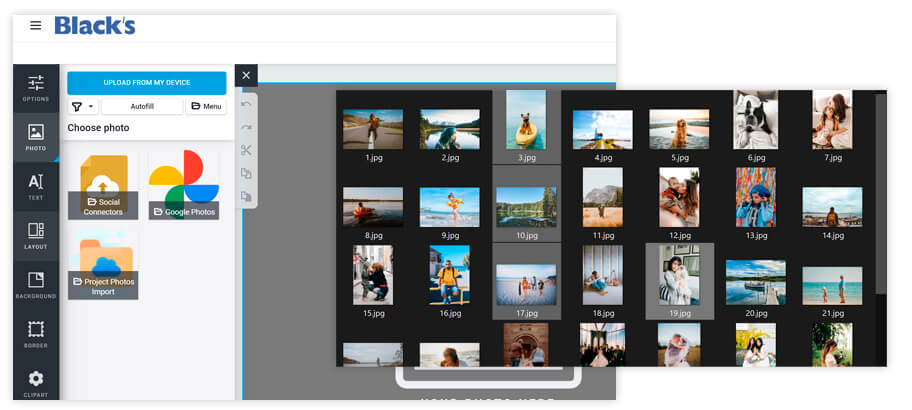
2. Upload your images to the online editing tool
Before you begin, group your selected images in a folder. To select multiple photos, use the CTRL (PC) or CMD (Mac) key. Then, upload your image files to our server using our online Editing tool. You can upload images from your computer, mobile device, social media accounts, or previous projects stored on our servers. This free Digital Sstudio experience is available online for your convenience.
Customize your photobook with your photos
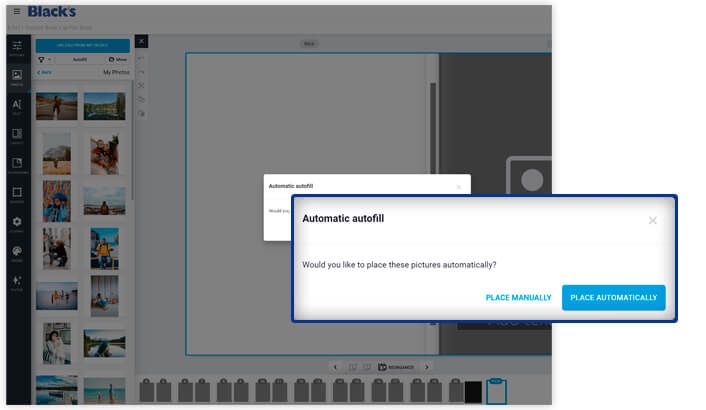
After uploading your photos, a pop-up will appear. You can choose to have your book auto-filled with your selected images or manually add them one by one. You can also move, delete, replace, switch, and import new photos while customizing your book. You have the flexibility to change the product and select a different template if desired.
Book filling options
Fill in the pages of your book manually by adding your pictures one by one. Choose the blank book template. Do not select any pictures. Select Customize my book in the top right corner of your window. Click or press Continue when notified that the pages of your album will not be filled automatically.
Have the pages of your book filled in automatically with your pictures, and then edit the layout. Choose the auto-filled book template. Put your photos in the order that you wish them to appear; the first one will be displayed on your album’s cover. You can pick your images one by one or Select all of them. Then, click of press Customize my book.
What’s the exclamation mark pop-up for?
The "!" means that the image resolution is not sufficient, and the picture might be blurred when printed out. We recommend choosing another image.
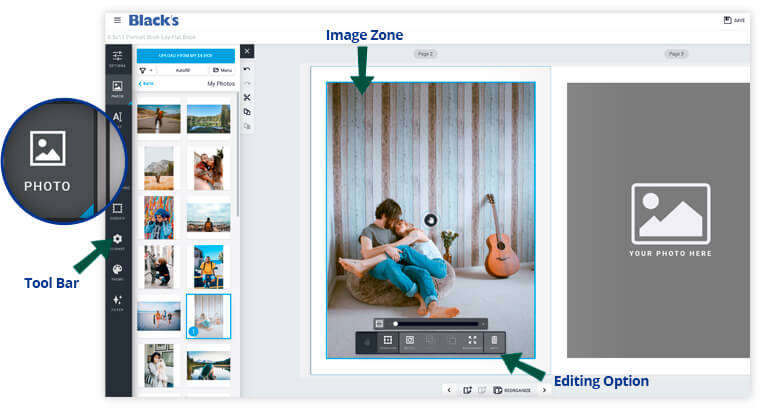
Image options - Adding and editing photos:
To add a photo to your book, select the Image zone in the layout and click the Photo button in the toolbar. Choose a photo and use the editing options to adjust its position, zoom, rotation, and more.
 Pan/Zoom: Select, move, and resize a picture.
![]() Transform: Adjust the position, rotation, and cropping of a picture.
Transform: Adjust the position, rotation, and cropping of a picture.
 Rotate: Rotate a picture.

 Front/Back: Bring a picture forward or push it backward.
 Empty: Delete a selected picture.
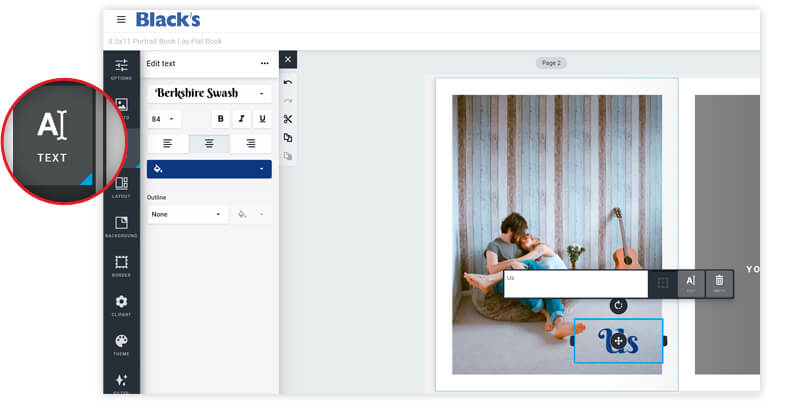
Text options - Adding captions:
Use the Text button in the toolbar to add captions to your photo book. Choose from a variety of fonts, colours, and sizes.
More options - Customizing the layout:
You can further customize the layout of your book by inserting ClipArt images, modifying the background, replacing visual components, and even adding extra pages. You can switch the book format by selecting the Change product option.
 Filter: Add a black, white, or sepia filter to a picture.
 Border: Frame a picture.
 Layout: Edit the presentation.
 Theme: Switch layouts.
 ClipArt: Insert a ClipArt file.
 Background: Modify the back of the presentation, such as colour or image.
![]() Undo: Cancel the last action.
Undo: Cancel the last action.
 Redo: Reinstate the last cancelled action.
 Cut: Delete a selected element or image.
 Copy: Make a copy of a selected element or image.
 Paste: Paste a selected element or image that you have copied or cut out.
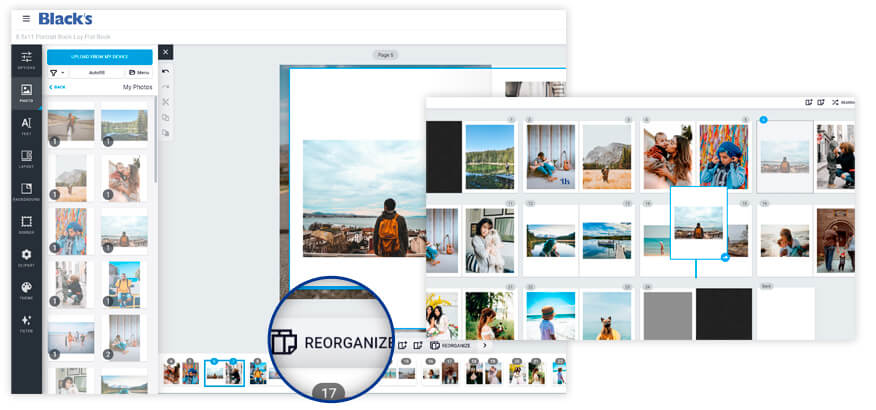
Good to know
When creating a photo book or album, you can re-arrange the order of your pages. You can add and/or delete pages as well as change the order in which they appear. To do so, select Reorganize at the bottom right corner of your window.
To move a "pages view" in your book, select the two pages of the open book and drag them between two other double-sided pages.
 Add allows you to insert a double-sided page.
 Delete suppresses a double-sided page.
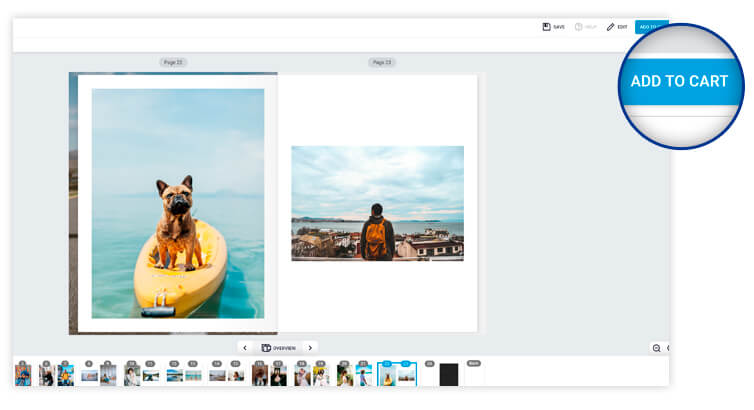
4. Order your custom photobook
After reviewing your work, select Preview to see a group view of all the pages. If you're satisfied, click or press Add to cart to place an online printing order.
Frequently Asked Questions:
Where can you print a photobook or album?
You can use our Digital Studio to create a photo book and have it delivered directly to your doorstep anywhere in Canada.
Do I need camera files to use the online editing tool?
No! You can use images from various media and sources, such as cameras, phones, tablets, or any device that captures or provides a quality image. If you have a scanner, you can scan your photos and save them on your computer. It's also possible to print downloaded images from social networks, applications like iCloud, Dropbox, Google Photos, Photobucket, Flickr, and many others. However, the resolution of these images may sometimes be far from optimal for printing.
How long does it take to receive a photobook?
The average processing time is seven business days.
Which image formats are accepted?
We accept JPEGs, BMPs, PNGs, and TIFFs. For optimal results, we recommend using the JPEG format. If you have HEIC files, we suggest converting them to JPEG using a media converter like iMyFone.
Can you expect high-quality prints?
Absolutely! Even professional photographers trust us to print their portfolios.