How to Print Your Own Wall Art from Your Photos
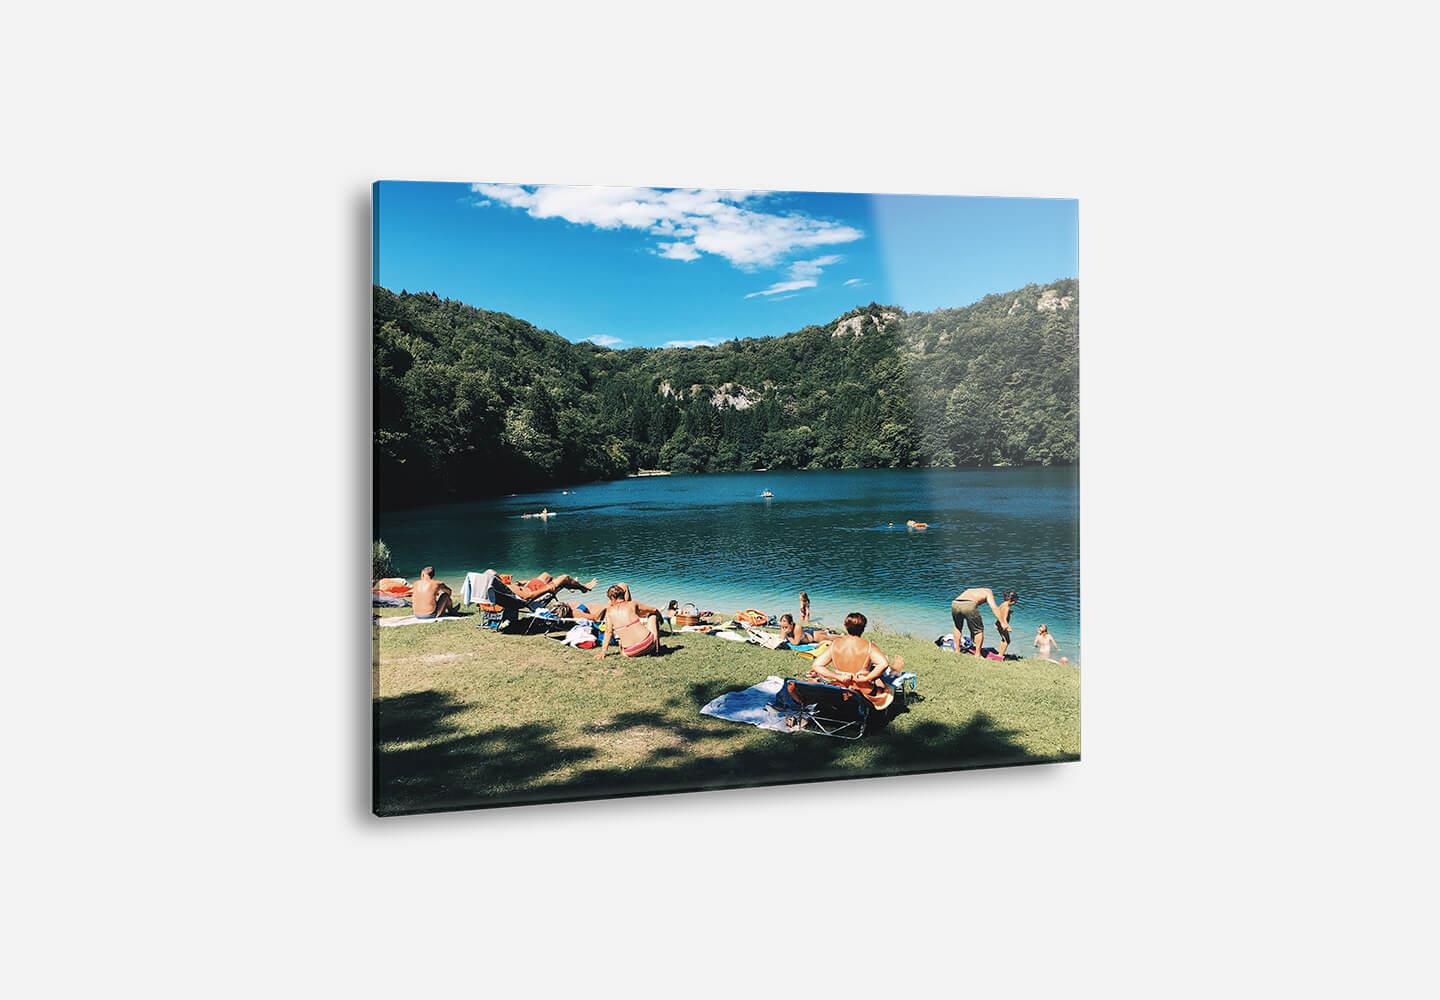
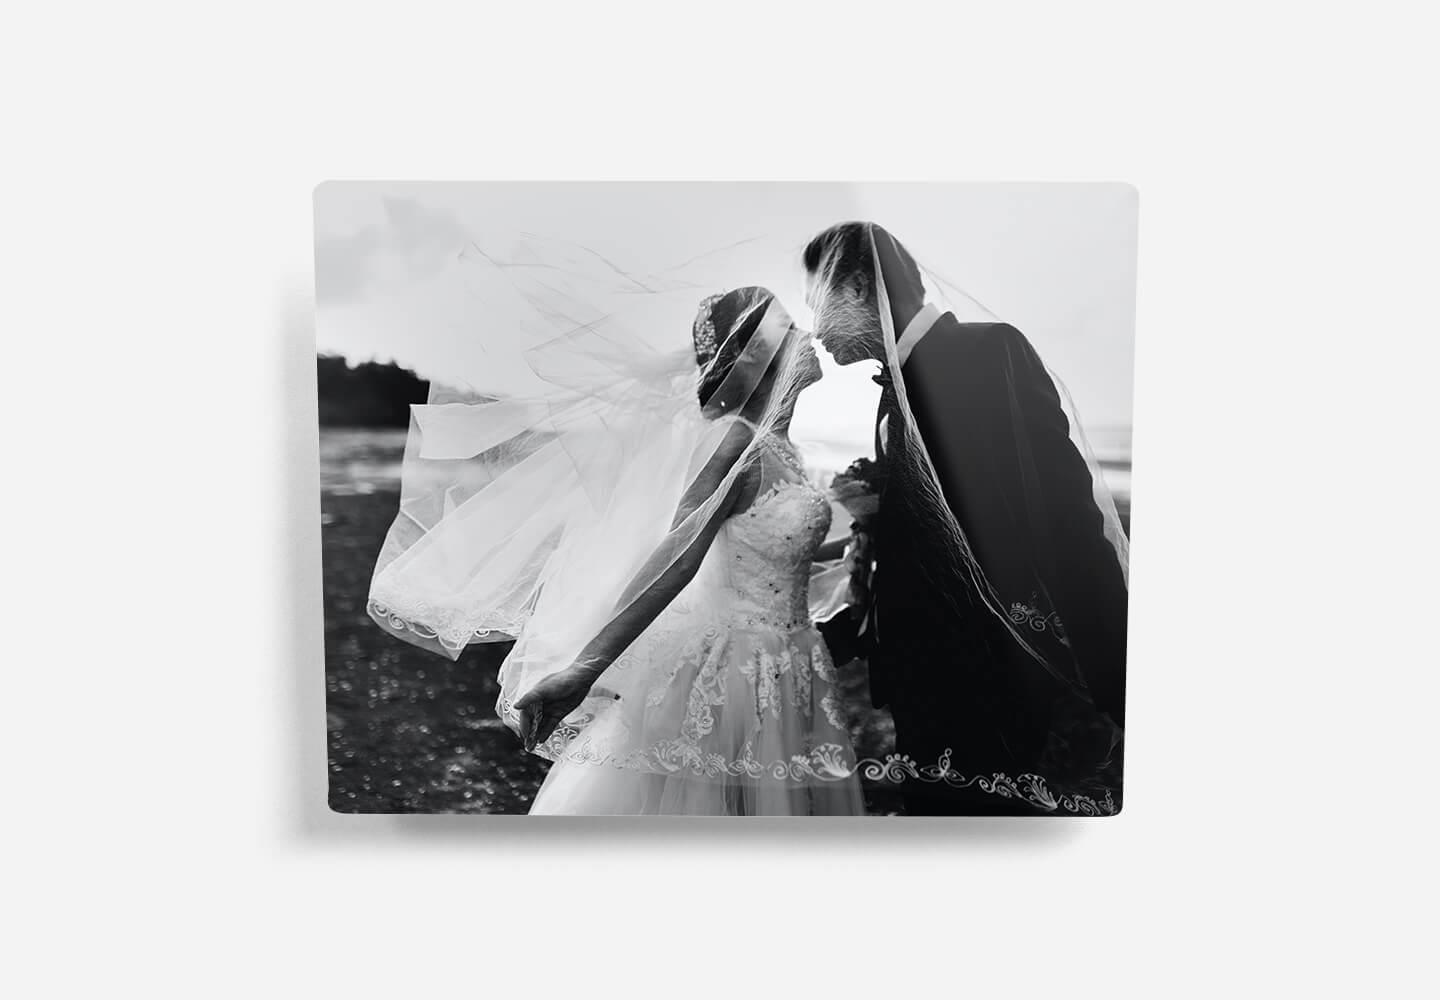
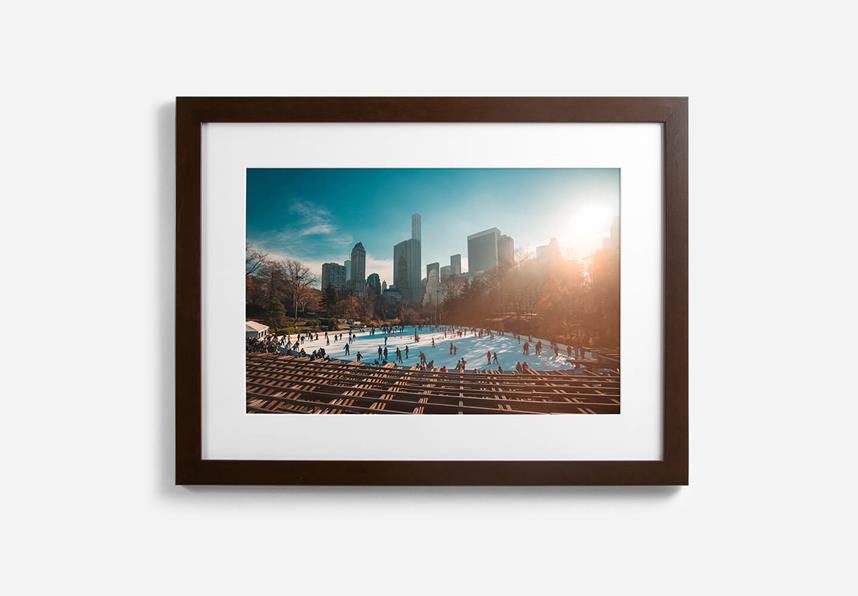
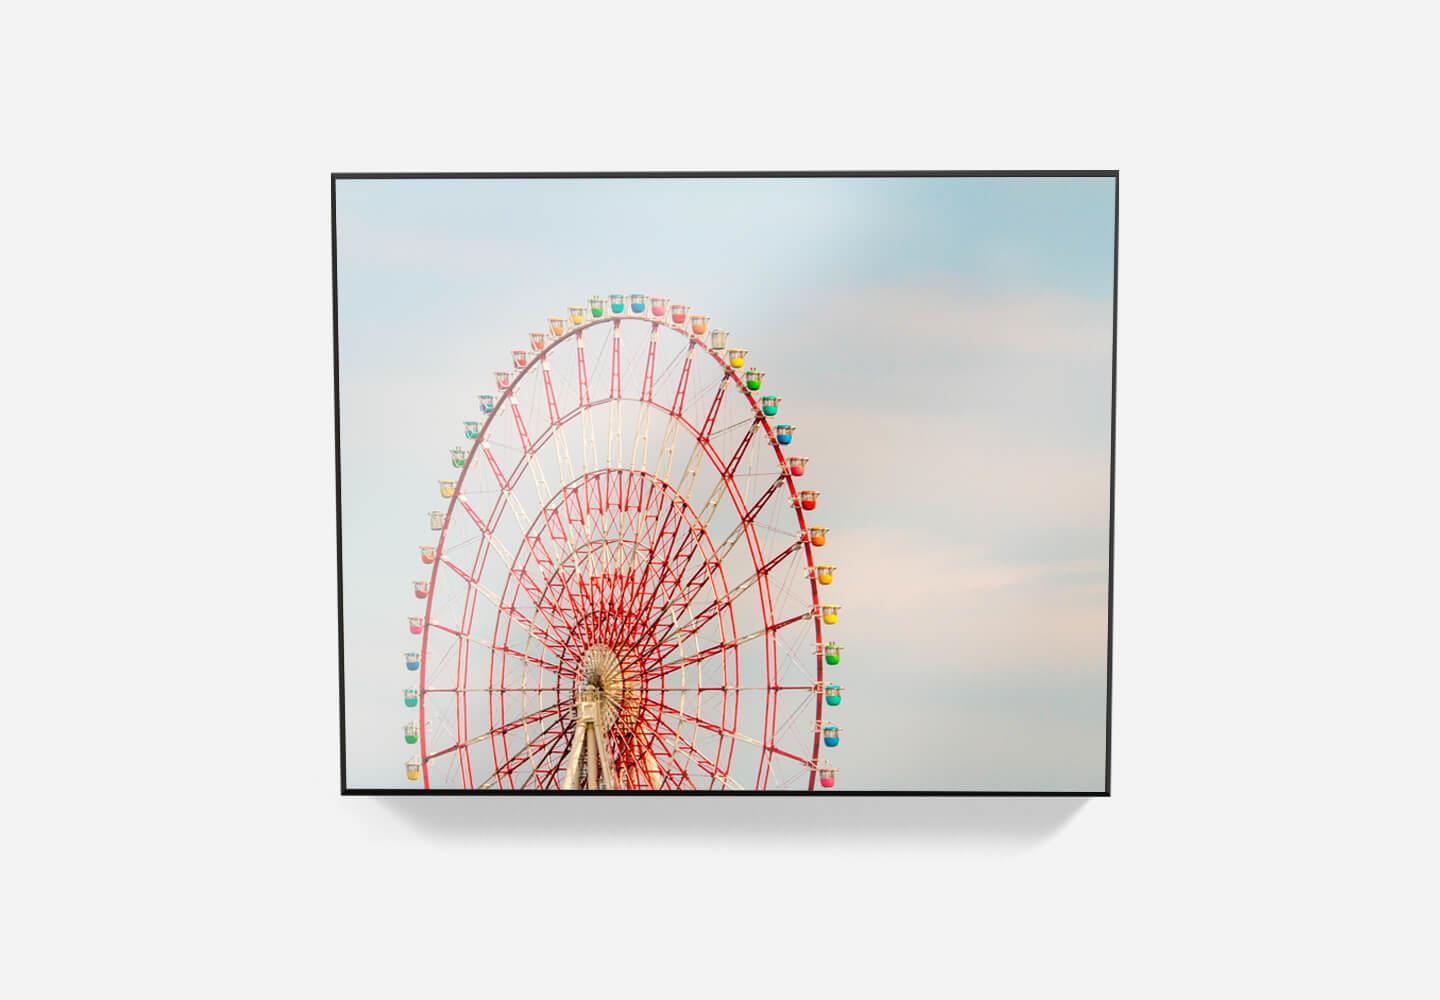
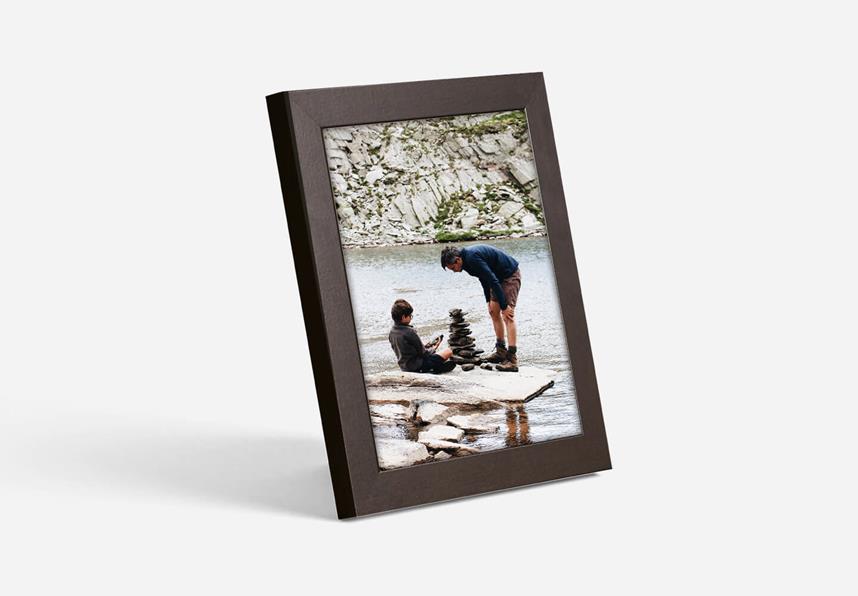
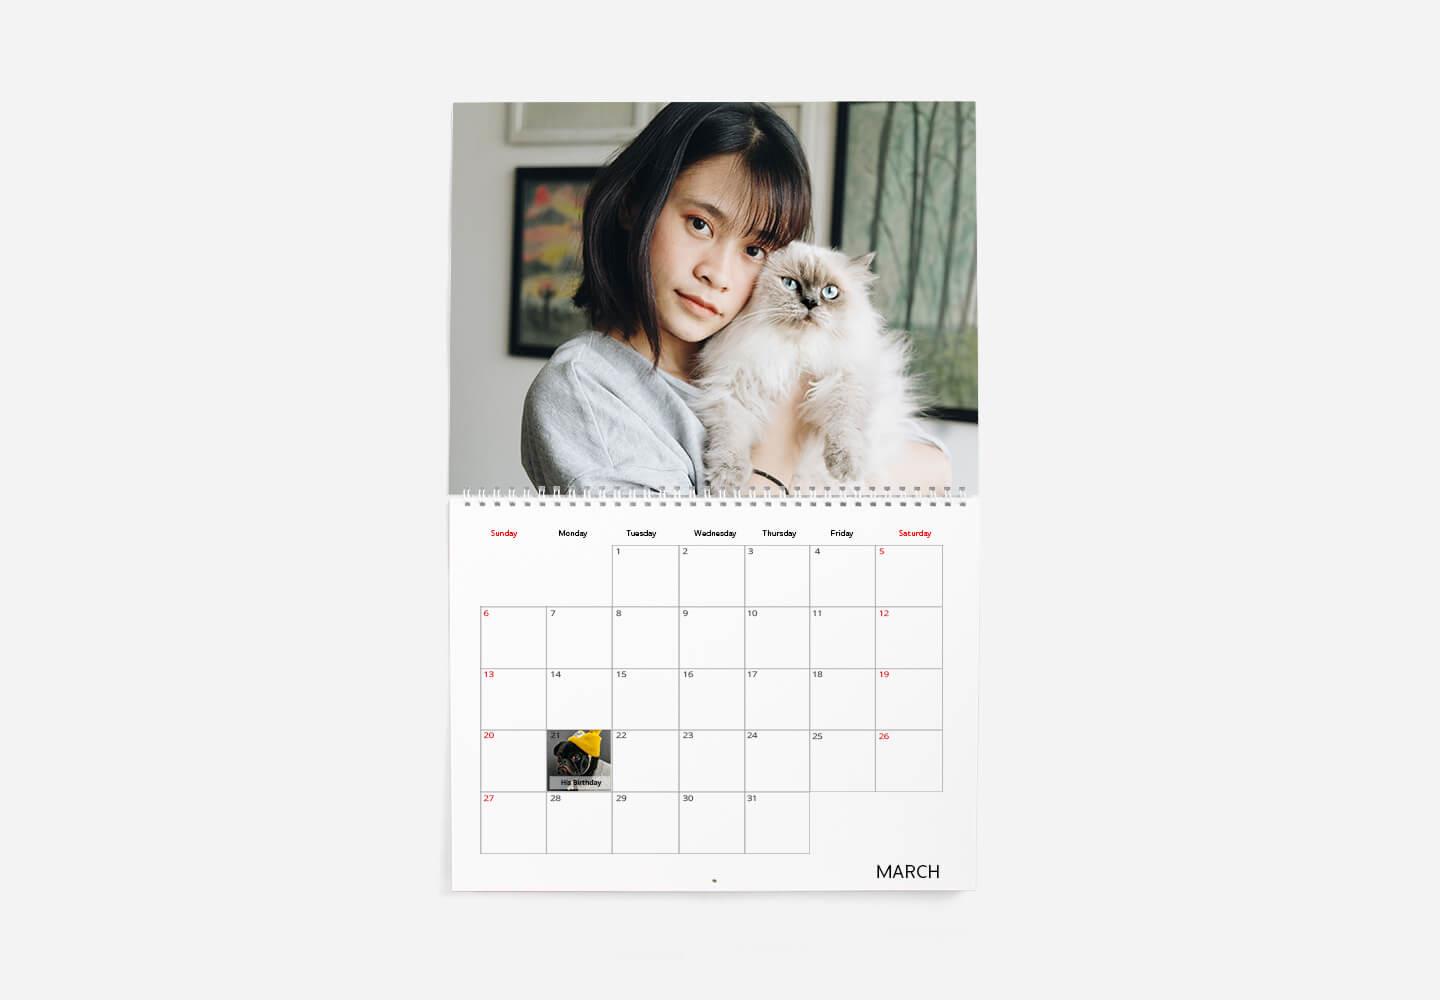
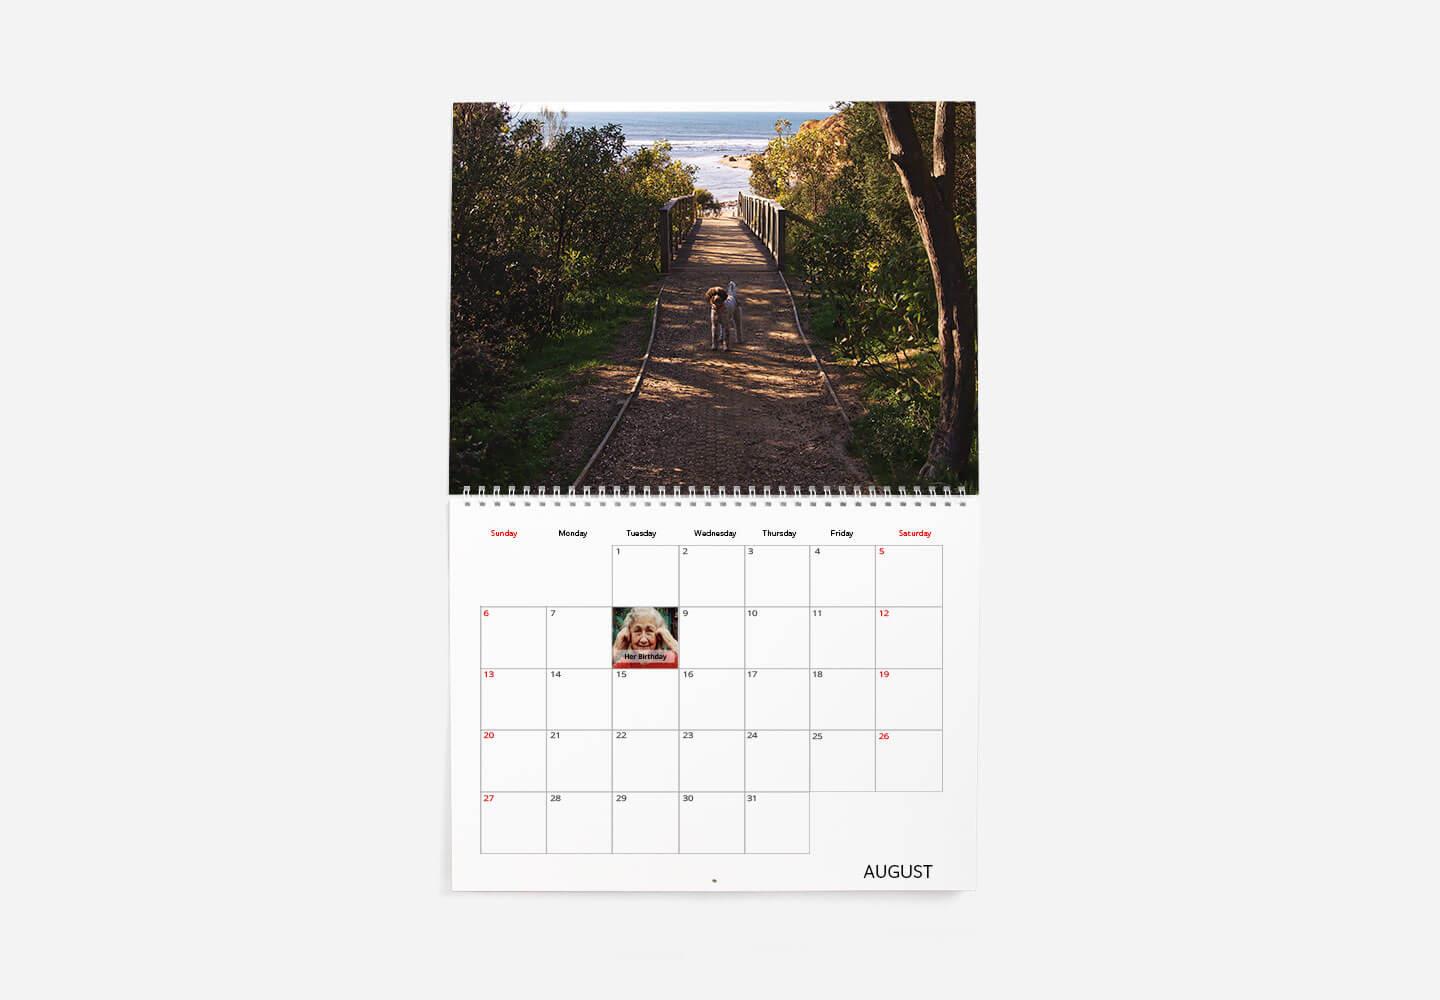
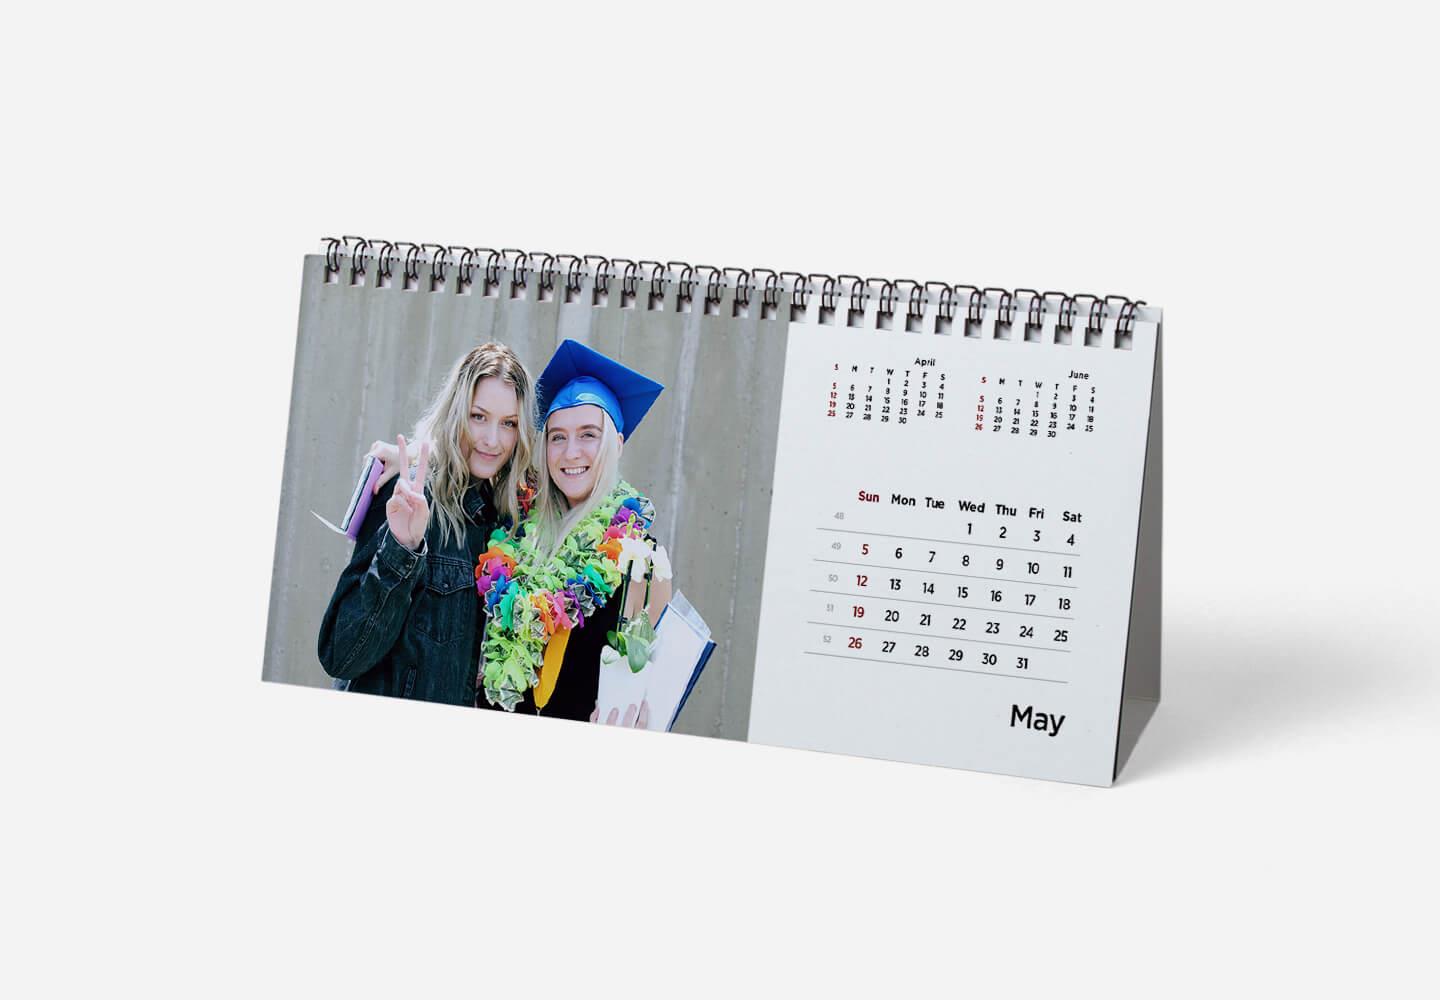
We're delighted to help you decorate your walls with your most cherished memories. To get started, choose a type of support for your photos, such as canvas, metal, or acrylic. Then, upload your pictures to our free online Digital Studio. You can make adjustments by resizing, cropping, and applying filters to your images. Once you're satisfied, you can have your order delivered at home.
You can easily order and make adjustments from a computer or a mobile device.
Guided procedure:
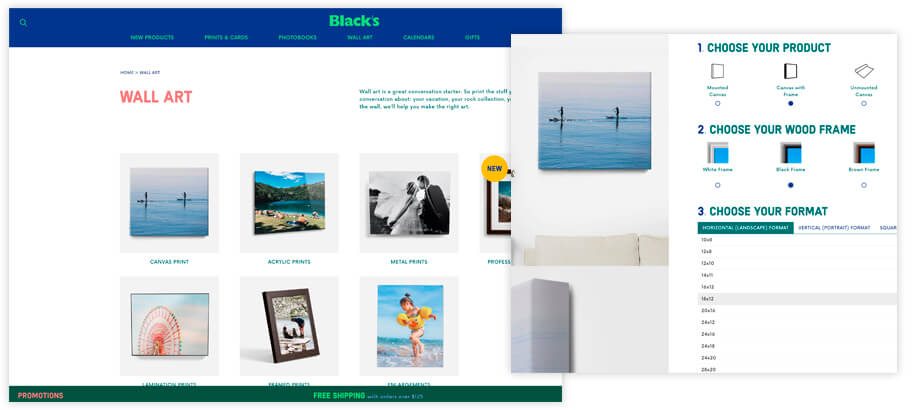
1. Choose a type of support for your photo
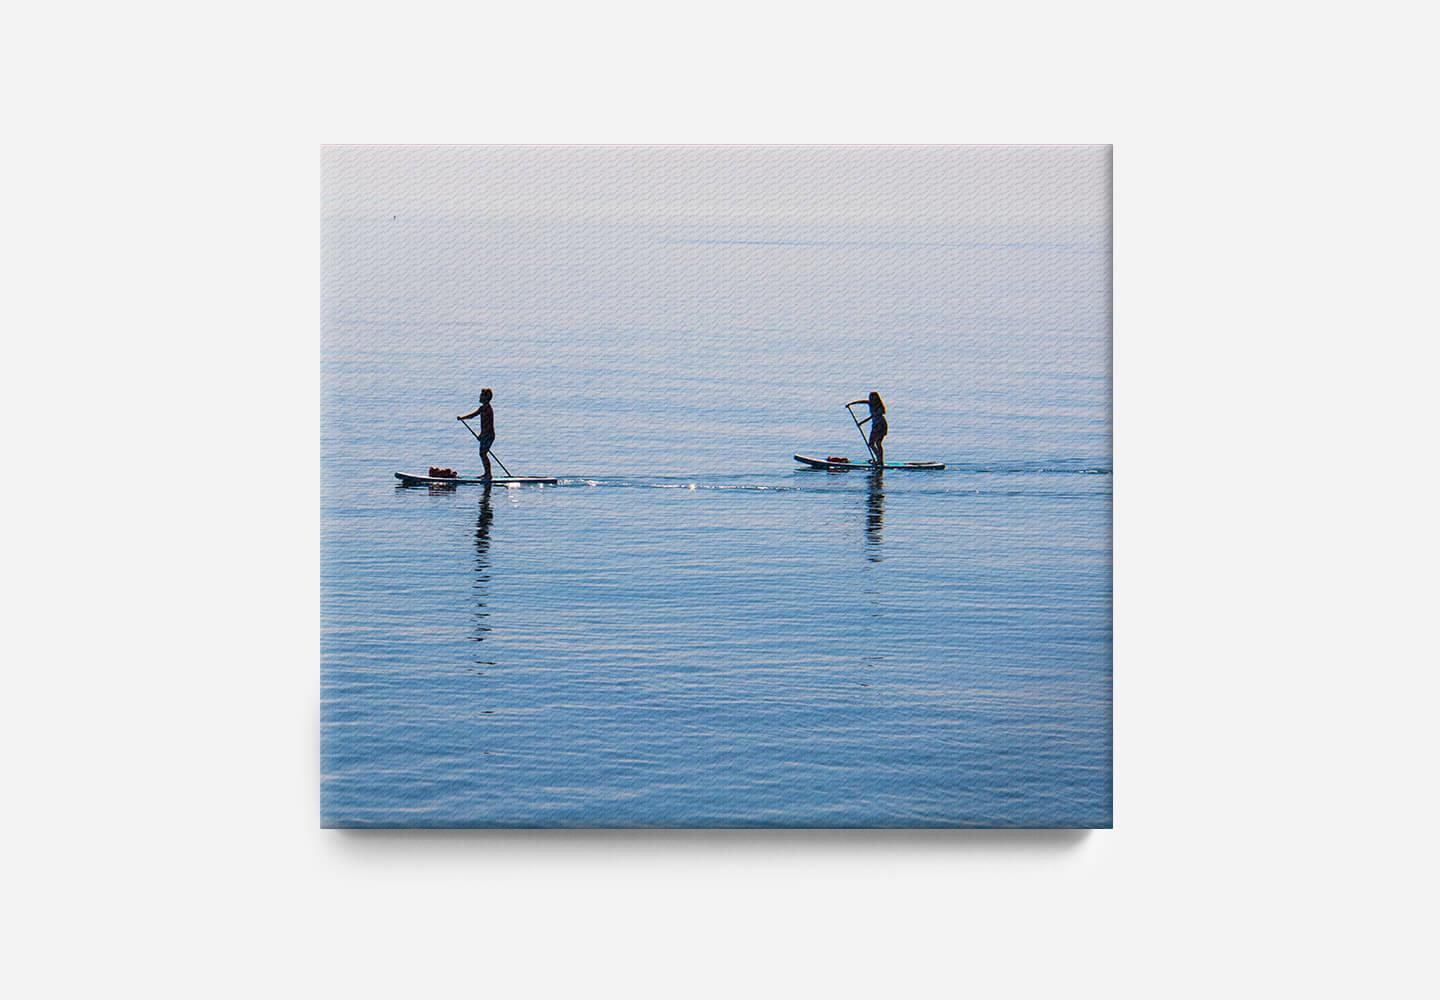
For the purpose of this demonstration, let's choose a canvas print. Note that the process remains the same regardless of the product you choose. Select the appropriate type of support for your photo. Metal, acrylic, and laminate offer greater durability, while canvases and frames are more delicate options. Then, select the desired attributes for your product.
2. Upload a picture to our online image Digital Studio
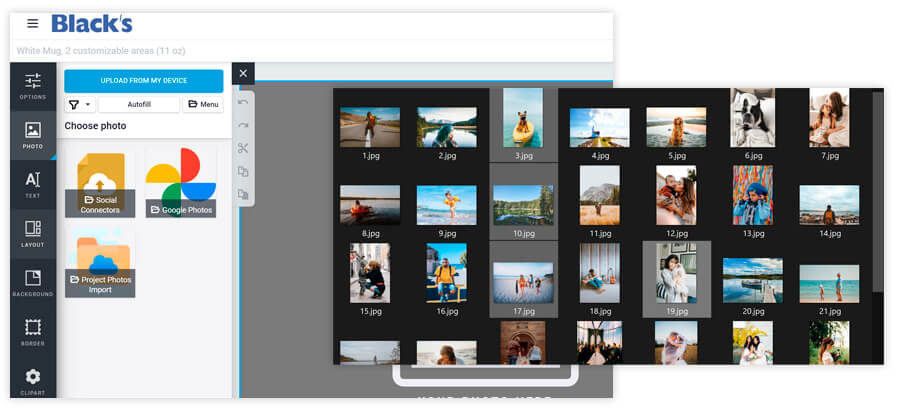
Before you begin, here are a few tips. Group your pictures in a folder. To select multiple pictures at once, hold the CTRL key (PC) or CMD key (Mac). To select all the pictures in a folder, hold the CTRL+A key (PC) or CMD+A key (Mac). Next, export your image files to our server using our online Editing tool. You can upload files from your computer or mobile device, social media accounts, or previous projects stored on our servers. Enjoy the convenience of this free digital studio experience, accessible anywhere online.
3. Select an image and start editing it
To access the images on our server, select the image zone (a grey area in the layout). Then, click the "Photo" button in the toolbar on the left side of your window. Choose the image you want to add, and you'll have the option to edit the picture and add text.
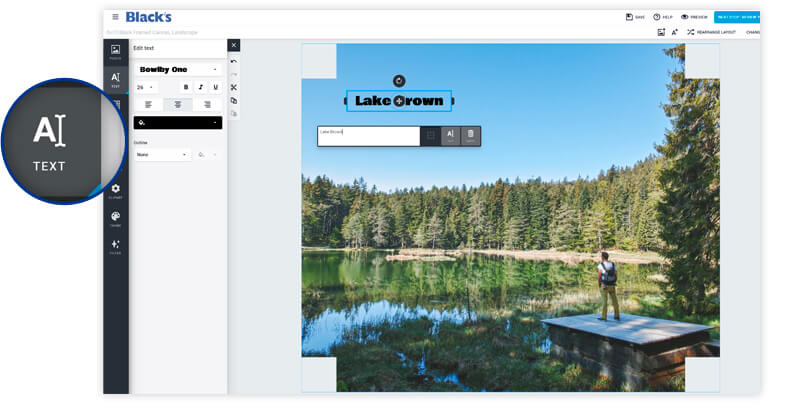
Image options - Achieving high-quality wall art
Explore various image editing options available in this category, including:
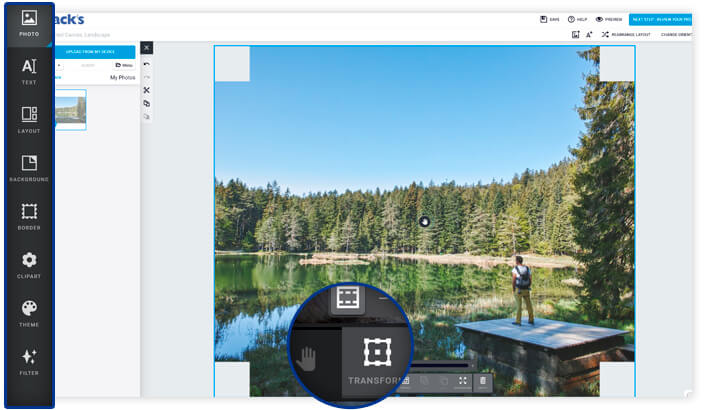
 Pan/Zoom: Select, move, and resize a picture.
 Transform: Adjust the position, rotation, and cropping of a picture.
 Rotate: Rotate a picture.

 Front/Back: Bring a picture forward or push it backward.
 Empty: Delete a selected picture.
 Filter: Add a black, white, or sepia filter to a picture.
 Border: Frame a picture.
 Layout: Edit the presentation.
 Theme: Switch layouts.
 ClipArt: Insert a ClipArt file.
 Background: Modify the back of the presentation, such as colour or image.
![]() Undo: Cancel the last action.
Undo: Cancel the last action.
![]() Redo: Reinstate the last cancelled action.
Redo: Reinstate the last cancelled action.
![]() Cut: Delete a selected image or element.
Cut: Delete a selected image or element.
![]() Copy: Make a copy of a selecte image or element.
Copy: Make a copy of a selecte image or element.
![]() Paste: Paste a selected image or element that you have copied or cut out.
Paste: Paste a selected image or element that you have copied or cut out.
Text options - Adding a caption
Use the Text button on the left side of your window to add a caption to your photo. Explore the available options to customize the appearance of the text.

4. Order your custom Photo Wall Art online
Once you've finished editing your picture, select "Order" in the top right corner of your window to proceed with your order.

Frequently Asked Questions:
How to print large photos from a phone?
Sign in to your account and follow the process explained above.
Which image formats are accepted?
We accept JPEGs, BMPs, PNGs, and TIFFs. For optimal results, we recommend using the JPEG format. If you have HEIC files, we suggest converting them to JPEGs using the media converter iMyFone.
Will I receive a high-quality print?
Absolutely! Even professional photographers entrust us with printing their portfolios.
