


How to create and print a Custom Calendar online
Designing your own custom calendar is a breeze and can be done effortlessly from your computer or mobile device. With a wide selection of calendar types and a range of features to choose from, you can bring your vision to life. Explore our classic calendar model or opt for the eco-friendly version, both designed to offer further customization options. Simply upload your photos to our user-friendly image editing tool and unleash your creativity as you craft a unique photo calendar. Whether it's a family-themed calendar, a stunning landscape collection, or even a nostalgic display of vintage photos and cherished recipes, the possibilities are endless. Take advantage of the preview mode to ensure every detail is perfect before placing your order. Once you're satisfied, just save and order to enjoy a one-of-a-kind calendar.
Guided procedure:
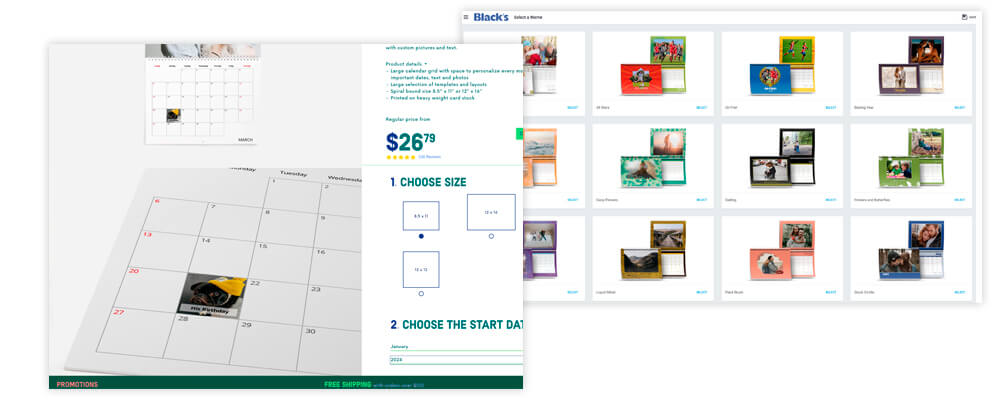
1. Choose a calendar template
Select the type of calendar you want. Note that the classic calendar and its eco-friendly version offer more customization options. Choose the desired attributes and a template to work from. If you can't find a template you like, no worries! Templates are just a starting point, and you can create your own design from scratch
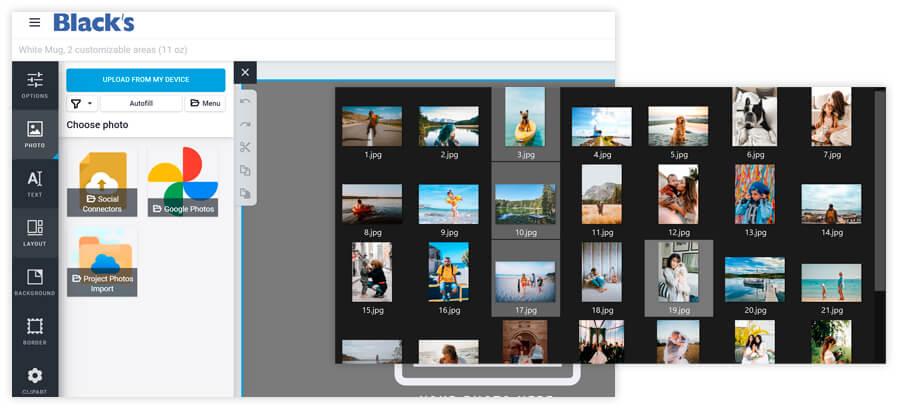
2. Upload your photos and add them to the calendar
Before you begin, here are a few tips. Group your pictures in a folder. To select multiple pictures at once, hold the CTRL key (PC) or CMD key (Mac). To select all the pictures in a folder, hold the CTRL+A key (PC) or CMD+A key (Mac). Next, import your image files to our server using our online Digital Studio. You can upload files from your computer or mobile device, social media accounts, or previous projects stored on our servers. Enjoy the convenience of this free digital studio experience, accessible online from your computer or mobile device.
3. Customize your calendar with your photos
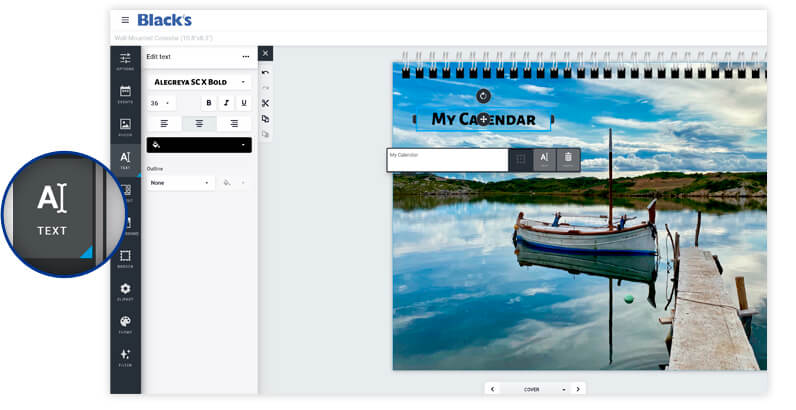
To add an image to your calendar, select the image zone (a gray area in the layout). Then, click the photo button in the left-side toolbar. Choose the image you want to add to the calendar. You can also edit the images, add text, modify the layout, and include custom events.
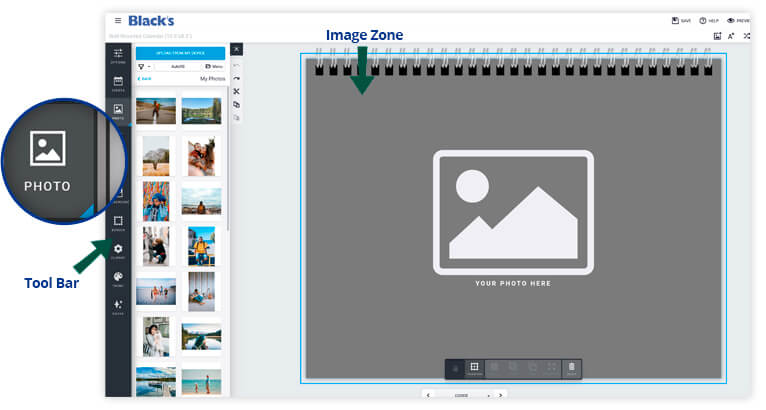
Image options - Adding and editing photos:
Select an image to display the editing options.
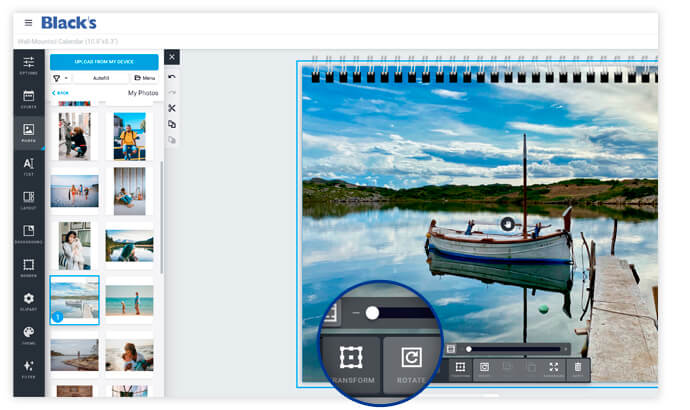
 Pan/Zoom: Select, move, and resize a picture.
![]() Transform: Adjust the position, rotation, and cropping of a picture.
Transform: Adjust the position, rotation, and cropping of a picture.
 Rotate: Rotate a picture.

 Front/Back: Bring a picture forward or push it backward.
 Empty: Delete a selected picture.
Text options - Adding a caption
To add a caption to your calendar, select the text box and use the text button on the left-side toolbar. Various customization options will be displayed.
Other options - Customizing the calendar's layout:
You can change the layout of your calendar using the options in the left-side toolbar.
 Filter: Add a black, white, or sepia filter to a picture.
 Border: Frame a picture.
 Layout: Edit the presentation.
 Theme: Switch layouts.
 ClipArt: Insert a ClipArt file.
 Background: Modify the back of the presentation, such as colour or image.
![]() Undo: Cancel the last action.
Undo: Cancel the last action.
 Redo: Reinstate the last cancelled action.
 Cut: Delete a selected image or element.
 Copy: Make a copy of a selected image or element.
 Paste: Paste a selected image or element that you have copied or cut out.
Good to know
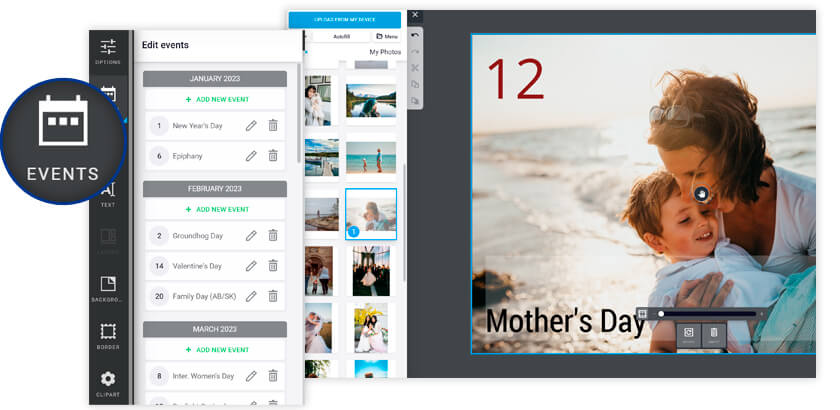
When customizing a classic calendar, you can add pictures and/or short captions in the date boxes. Go ahead, and personalize date boxes for Mother’s Day, Christmas, your brother’s birthday, your wedding anniversary date, or your kid’s back-to-school/end-of-classes.
To add an event, select the Event button in the top left corner of your window. Pick an event from our list or add a custom event by selecting Add new event and indicating the month.
 Pen: customizes a date box.
 Trash deletes an event.
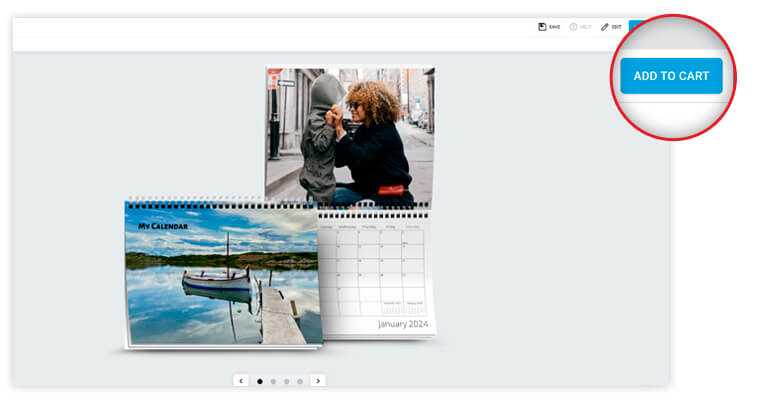
4. Order your custom photo calendar
Before placing your order, review your work by selecting the preview button. Flip through the pages of your calendar to ensure all the details are correct. If you need to make any changes, you can go back to the customization step. Once you're satisfied, select "Add to cart" to order your customized item.
Frequently Asked Questions:
Do my photos need to match the calendar's format?
No, your photos and their media support don't need to match. Our calendar templates come in various sizes: 11 x 8.5 in., 8.5 x 11 in., 12 x 16 in., 5.75 x 12 in., 8 x 8 in., 10 x 10 in., and 12 x 12 in.
Do I need camera files to use the online Digital Studio
No! You can use images from various media and sources, such as cameras, phones, tablets, or any device that captures or provides a quality image. If you have a scanner, you can scan your photos and save them on your computer. It's also possible to print downloaded images from social networks, applications like iCloud, Dropbox, Google Photos, Photobucket, Flickr, and many others. However, the resolution of these images may sometimes be far from optimal for printing.
Which image formats are accepted?
We accept JPEGs, BMPs, PNGs, and TIFFs. For optimal results, we recommend using the JPEG format. If you have HEIC files, we suggest converting them to JPEGs using the iMyFone media converter.
When will I receive my calendar if it is being delivered by mail?
We deliver across Canada, and you can generally expect to receive your calendar within seven business days.